Please use the main navigation above to go back to the projects page or other parts of the site, or click on the links on the right to see details of other projects.
The problem Geoff faced was that he suffers from arthritis in his left hand, meaning that maintaining a constant grip with his left hand while sawing with the right hand was a painful experience. His solution, and a very clever one too, was to create a jig which in effect takes over the work of his left hand.
I'll let Geoff talk you through it:
"You may remember my problem of an arthritic left hand and associated difficulty of controlling the free angle saw guide, particularly when sawing wide boards. I offer the following solution.
Sawing jig for free angle saw guide.
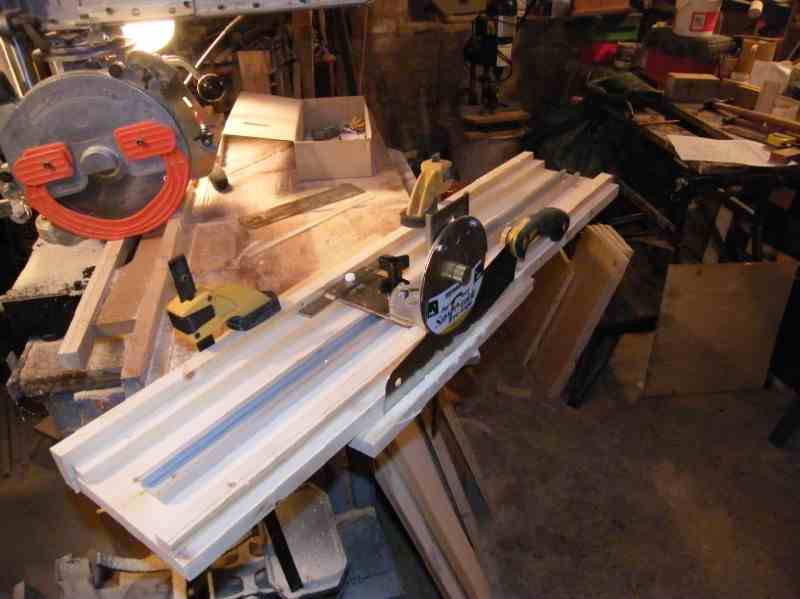
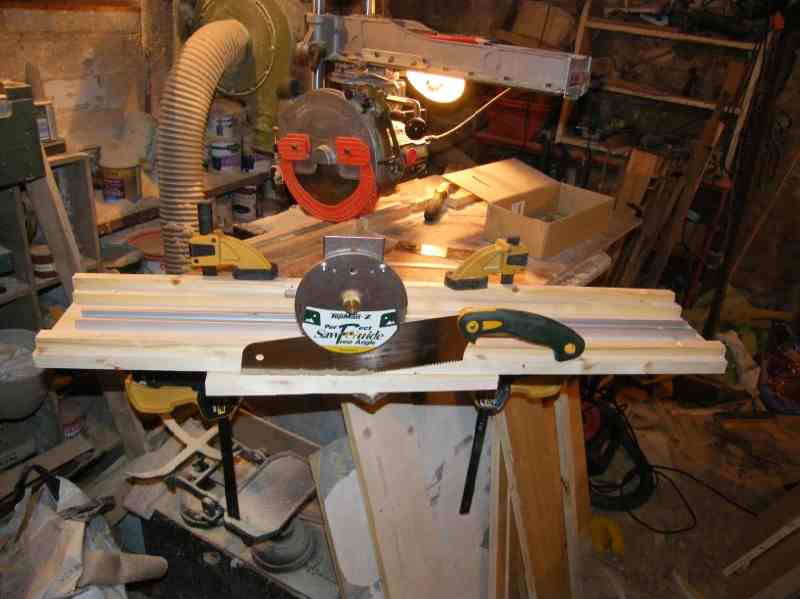
Overall the use of this jig increases the accuracy and ease of use of the saw guide. It might be useful to consider the use of more specialist saws for certain applications. A long ripsaw would increase the amount of work done per stroke. A timber ripsaw for sawing green timber. With regards to this latter operation, I am not a complete masochist. If you use the hand method for constructing two parallel faces it might just be possible to get a four inch board by topping and tailing the log through a ten inch circular saw.
The photographs below show another of Geoff's jigs: a prototype setup for ripping green timber which is fairly illustrated in the photographs. Geoff reports that the child's chair survived!
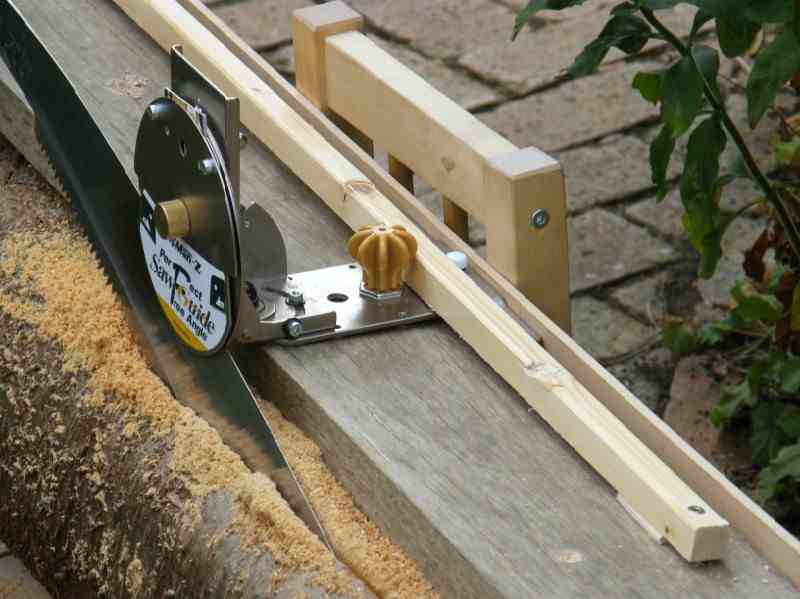
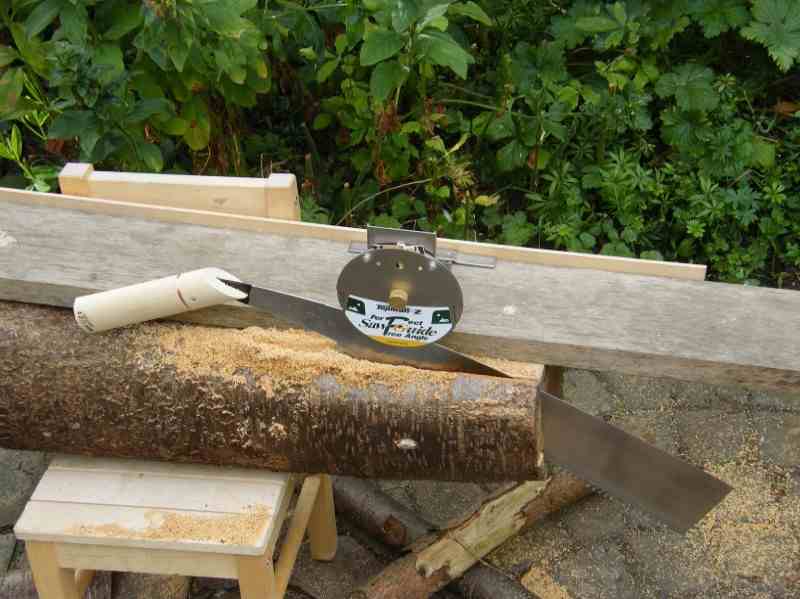

Nice one, Geoff! I have to say there is a good chance the chair would have been in 2 parts had I attempted that!
Timber-framed house extension by Paul Welters
Geoff's magnificent jig for the saw guide
Copyright © Woodwork Projects